Easy-To-Use Picture-Photo Editor For Windows 11
Photo Editor provides a comprehensive suite of tools for editing pictures, featuring stylish effects, filters, and drawing tools to help you create eye-catching images, even if you’re new to photo editing.

Photo Editor offers a comprehensive set of tools for editing pictures, providing stylish effects, filters, and drawing tools to help you create eye-catching images, even if you’ve never edited a photo before. With Photo Editor, you can seamlessly share your artworks on Instagram, WhatsApp, Facebook, and more. Unleash your creativity and edit pictures like a pro!
Key Features:
- One-tap auto enhance
- Gorgeous photo effects, filters, and frames
- Fun stickers
- Color balance
- Crop, rotate, and straighten your photo
- Adjust brightness, contrast, color temperature, and saturation
- Sharpen and blur
- Color temperature
In a world that demands a strong social media presence, we all understand the impact that good pictures can make. Photo Editor-Picture Editor is your key to achieving that goal, boasting amazing features that elevate your pictures to the next level. If you seek to edit your pictures like a professional within minutes rather than spending hours on it, Photo Editor-Picture Editor is the best app for that.
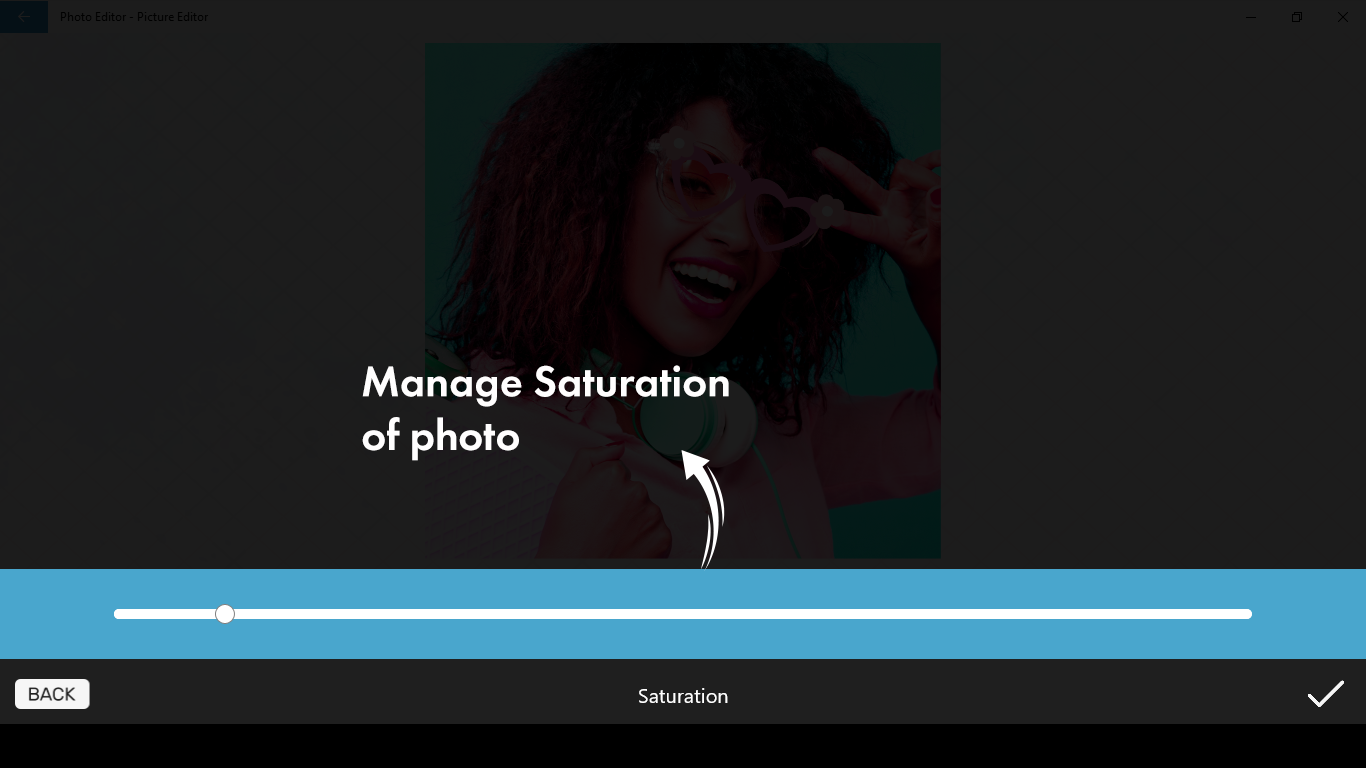
To create a great photo, achieving a balance between saturation and sharpness is crucial. With PHOTO EDITOR-PICTURE EDITOR, you can achieve this in minutes by following these easy steps mentioned below.
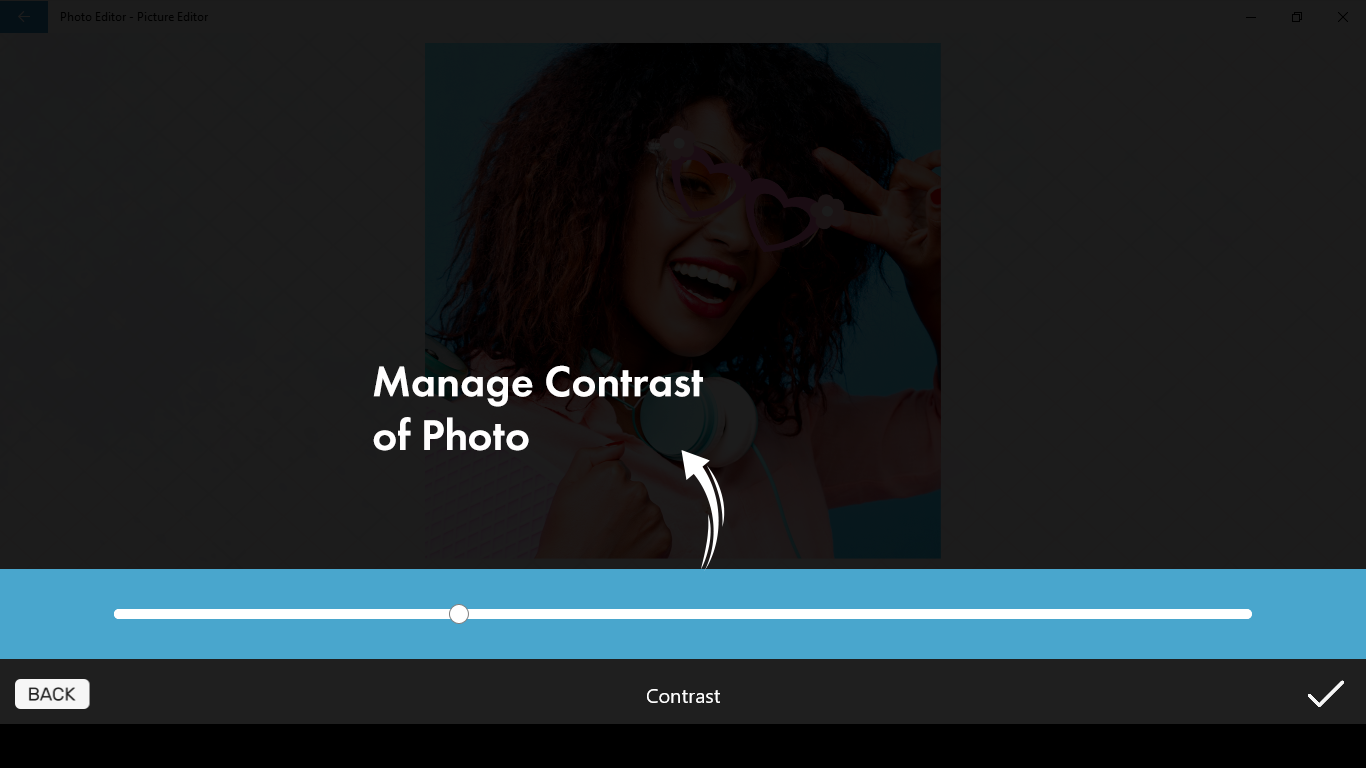
Just like saturation and sharpness, brightness and contrast are also key elements of a picture. Maintaining the right balance is essential, and with our easy-to-use options for editing them, PHOTO EDITOR-PICTURE EDITOR provides you with great tools for that too.
Step 1:- Open PHOTO EDITOR-PICTURE EDITOR on your PC or Laptop.
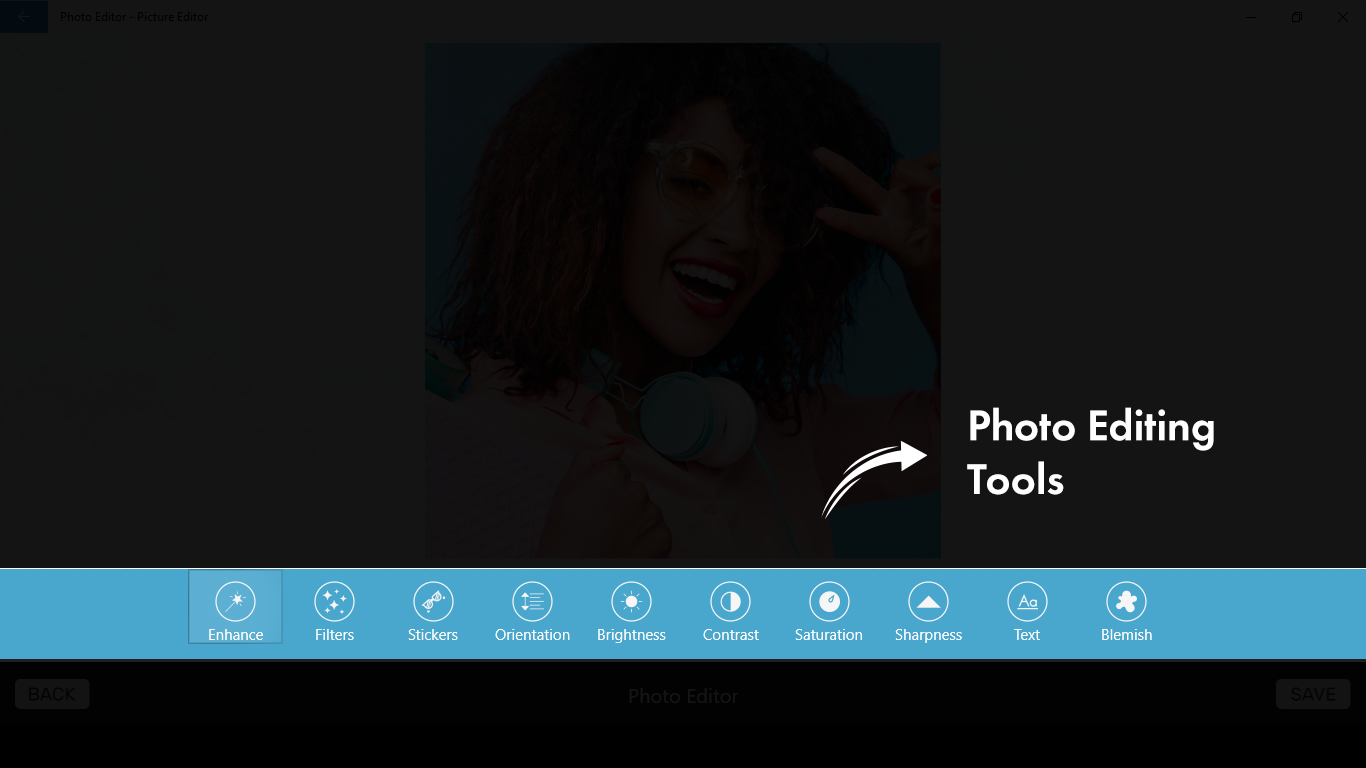
Step 2:- After selecting your desired picture, go to the editing section where you will find the options for ‘brightness’ and ‘contrast’ just below the picture. Additionally, after selecting your desired picture, you will enter the editing section where you will see the options for ‘SATURATION’ and ‘SHARPNESS’ just below the selected photo.
Step 3:-
- To adjust the ‘SHARPNESS’ of the photo, click on the sharpness option. Move the cursor along the bar to your desired level and click the right check icon in the bottom right corner.
- To modify the ‘SATURATION’ of the photo, click on the saturation option. Move the cursor along the bar to your desired level and click the right check icon in the bottom right corner.
Step 4:-
- To adjust the brightness, click on the option labeled ‘brightness’ right next to orientation. Move the cursor along the bar to your desired level and click the check icon in the bottom right corner when done.
- To modify the contrast, click on the option labeled ‘contrast’ right next to brightness. Move the cursor along the bar to your desired level and click the check icon in the bottom right corner when done.