Easy-To-Use Photo Editor For Windows 11
Whether it’s a birthday celebration or a brunch, compelling invitations captivate everyone. With ‘Texts on Photos – Cool Fonts,’ you have the ability to add text to any image, allowing you to create your favorite posters, invitations, letters, and more. Because with us, it’s not just an idea – it’s a possibility.

Whether it’s a birthday celebration or a brunch, captivating invitations allure everyone. With ‘Texts on Photos – Cool Fonts,’ adding text to any image becomes a breeze, allowing you to craft your favorite posters, invitations, letters, and more. Our user-friendly interface and advanced options make the creative process a treat for you. Join our app now to elevate your art using your desired pictures and take it to the next level. Let’s not wait any longer – let’s get started.
Adding text to your templates enhances their attractiveness, making your invitations irresistible. With ‘Texts on Photos – Cool Fonts,’ we offer the coolest and easiest options for you to add text effortlessly.
So, no need to worry anymore. Just follow these simple steps:
Step 1: Start
To access our amazing templates, follow these steps:
- Open ‘Texts on Photos – Cool Fonts’ on your PC or laptop.
- On the home screen, click on the first option on your right that says ‘Start.’
- Now, choose your desired template from the given list by clicking on it.
Step 2: Add Text to Your Template
Click on the “Text” option below your selected template.
This simple step allows you to seamlessly incorporate text into your design, enhancing your invitation or poster with personalized messaging.
Step 3:- Add and Save Your Text
After clicking on the “Text” option, a rectangular box will appear in the middle of your screen. Click on it to add your desired text.
Once you’ve added your text, find the correct option at the top right corner of the screen and click on it to save your creation.
This straightforward process allows you to effortlessly insert and save text, ensuring your design is customized to your liking.

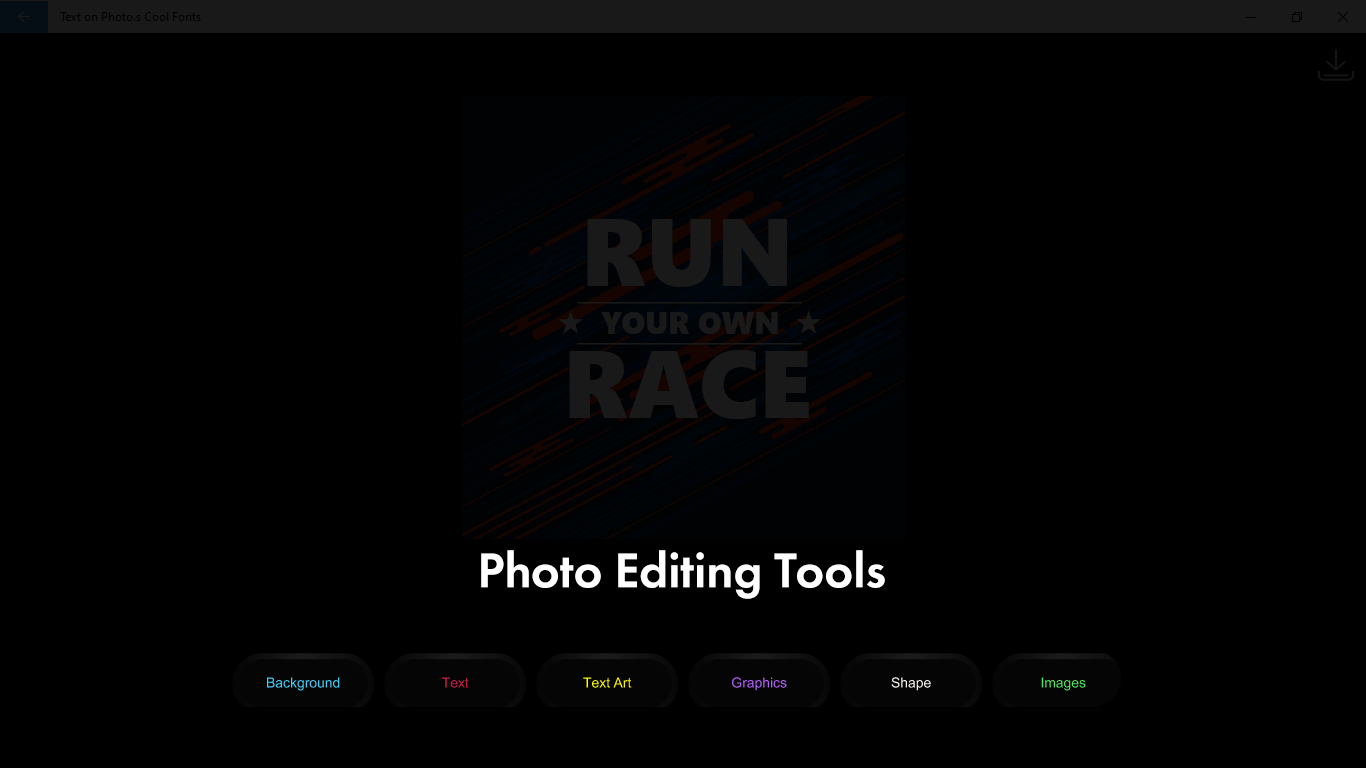
Step 4:- Customize Your Text
If you want to cancel the “Text” window, simply click on the X mark at the top left corner of the screen. This will cancel the text input and take you back to the previous screen.
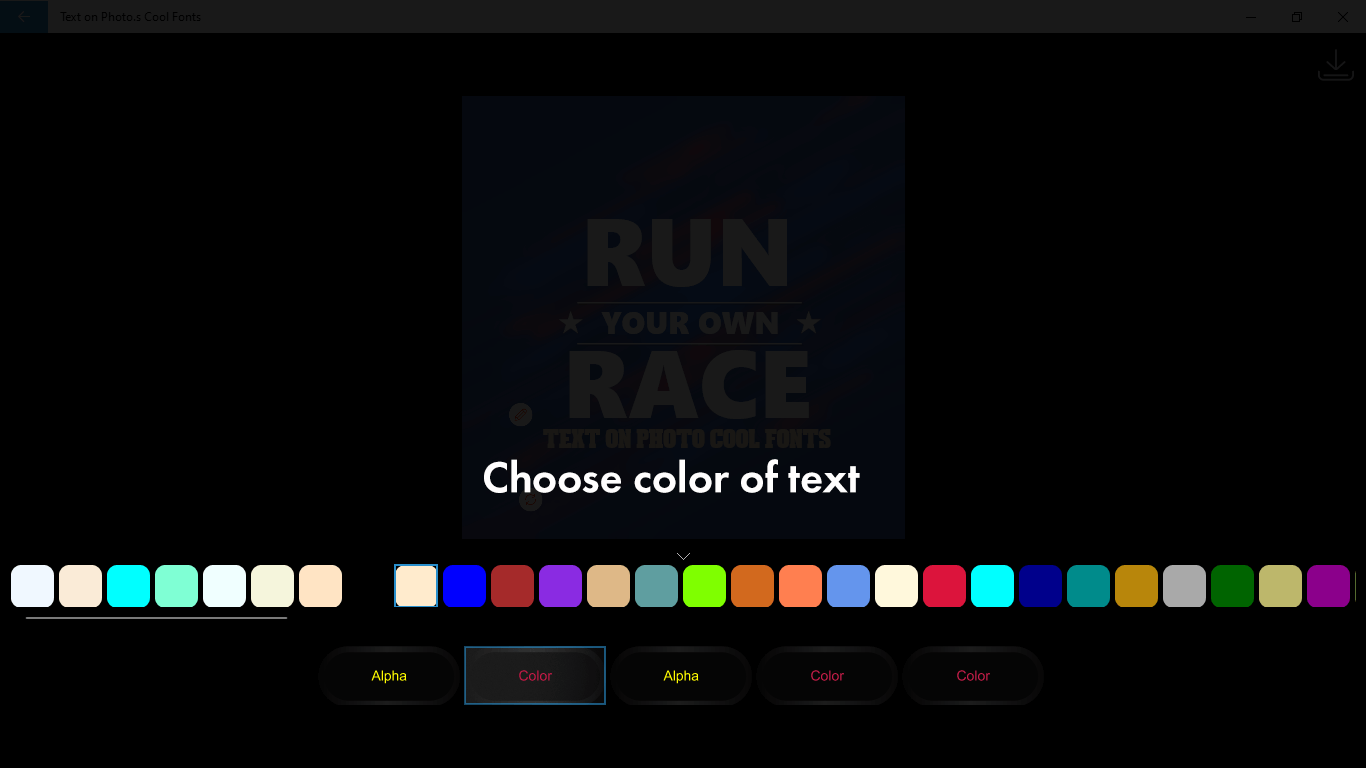
Click on the “Text Art” option to add mesmerizing text art to your template.
After selecting the “Text Art” option, the screen will display various text art options. Click on your desired text art to add it to your template.
To further customize, click on the “Color” option. Choose any color from the given list to apply it to the text in your template.
These simple steps allow you to add creative text elements and customize them according to your preferences.