Easy-To-Use Photo Editor For Windows 11
Whether it’s a birthday celebration or a brunch, captivating invitations appeal to everyone. With ‘Texts on Photos – Cool Fonts,’ you can effortlessly add text to any image, enabling you to create your favorite posters, invitations, letters, and more. Because with us, it’s not just an idea – it’s a possibility.

Whether it’s a birthday or a brunch, compelling invitations draw everyone in. With ‘Texts on Photos – Cool Fonts,’ adding text to any image allows you to create your favorite posters, invitations, letters, and more – because with us, it’s possible. Our easy-to-use interface and advanced options are a treat for you. Join our app now to elevate your art with your desired pictures. Let’s not wait any longer – let’s get started!
Step 1: Start
To access our amazing templates, follow these simple steps:
- Open ‘Texts on Photos – Cool Fonts’ on your PC or laptop.
- On the home screen, click on the first option on your right that says ‘Start.
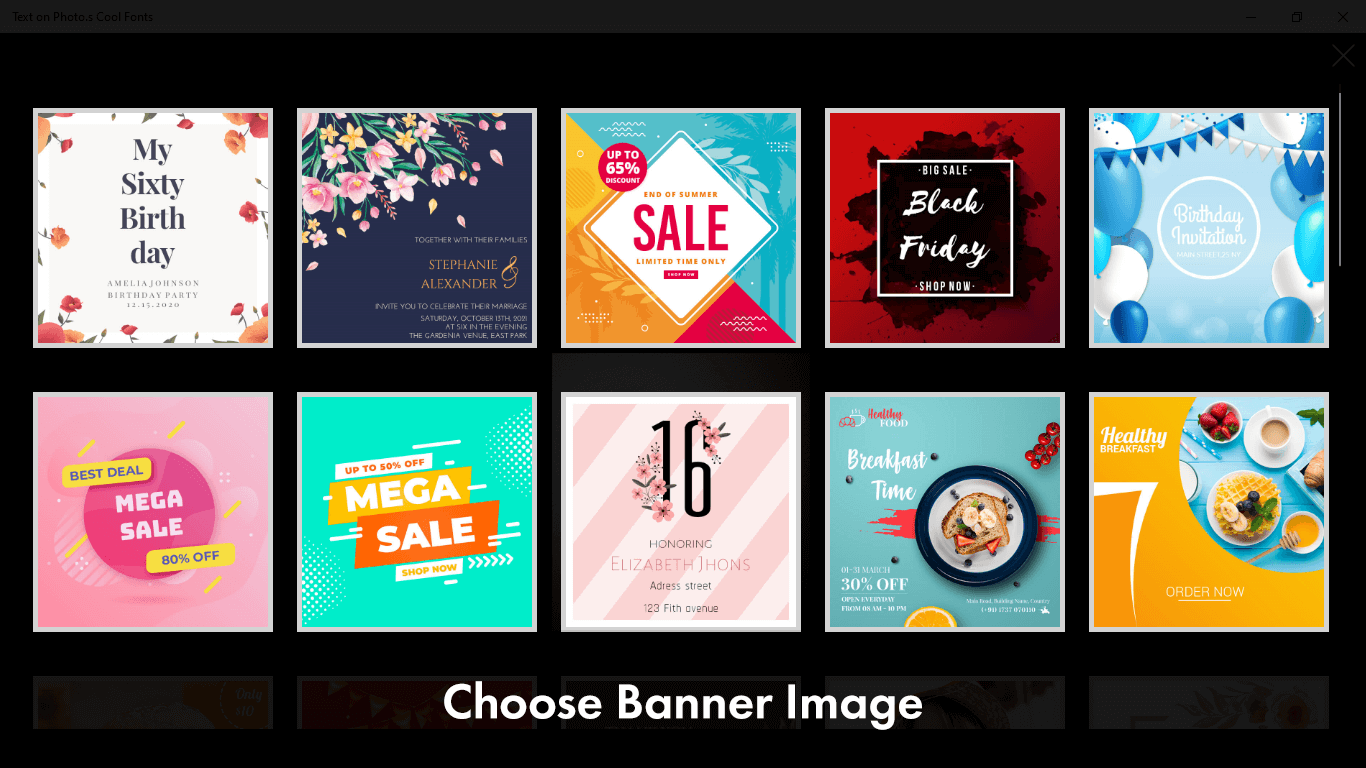
Step 2: Choose a Template
To craft impressive text images, having excellent templates is crucial. With “Texts on Photos – Cool Fonts,” you don’t need to worry – we’ve got you covered. Follow these simple steps:
- Open “Texts on Photos – Cool Fonts” on your PC or laptop.
- On the home screen, click on the first option on your right that says “Start.”
- Now, select your desired template from our extensive list by clicking on it.
This straightforward process allows you to unleash your creativity with ease.
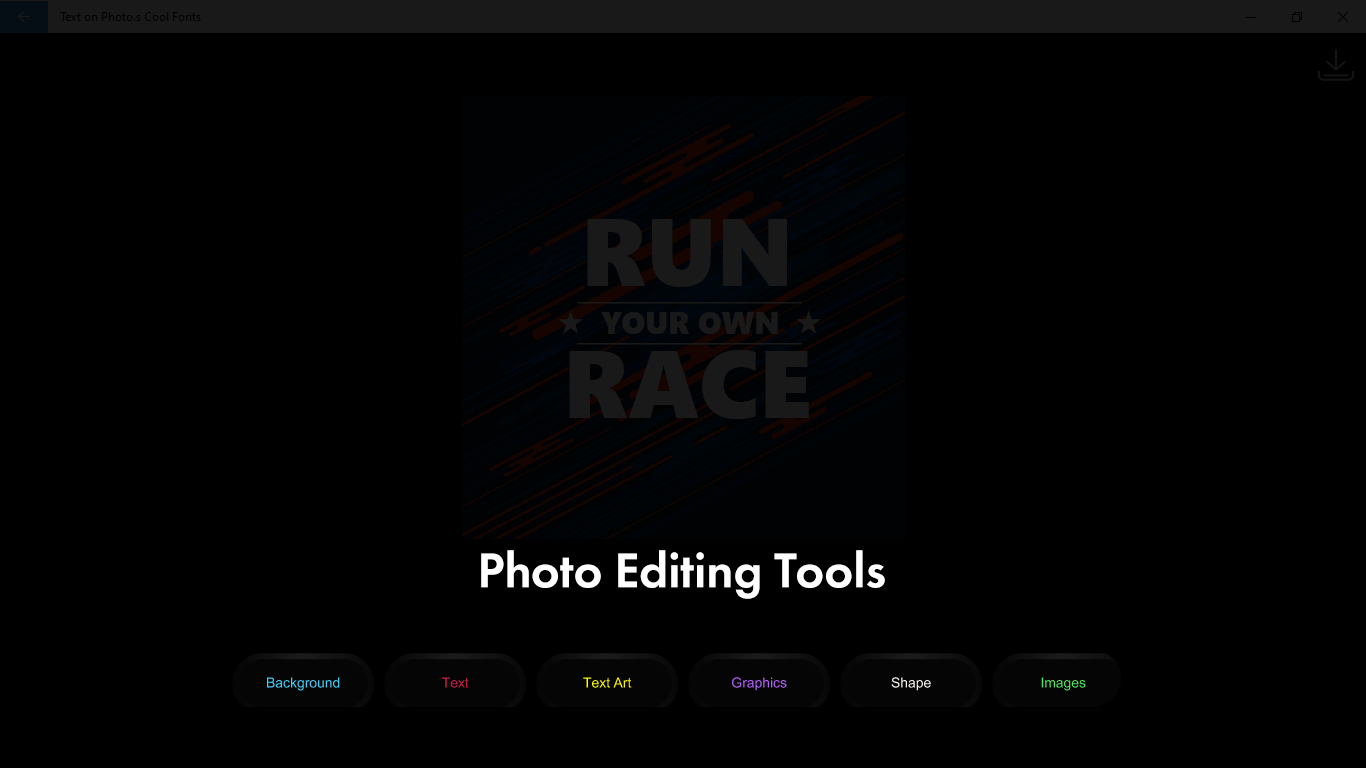
Step 3:- Background – Images/Album/Background/Recover/Filter/Color/Blur/
A captivating background is a necessity for creating inviting posters and invitations. With “Texts on Photos – Cool Fonts,” we provide excellent options to help you achieve perfection. Follow these simple steps:
- Open “Texts on Photos – Cool Fonts” on your PC or laptop.
- On the home screen, click on the first option on your right that says “Start.”
- Choose your desired template from the given list by clicking on it.
- Now, select the “Background” option located below your chosen template.
This step-by-step guide ensures you have access to a variety of background options to enhance the appeal of your creations.
Step 4:- Selecting Background
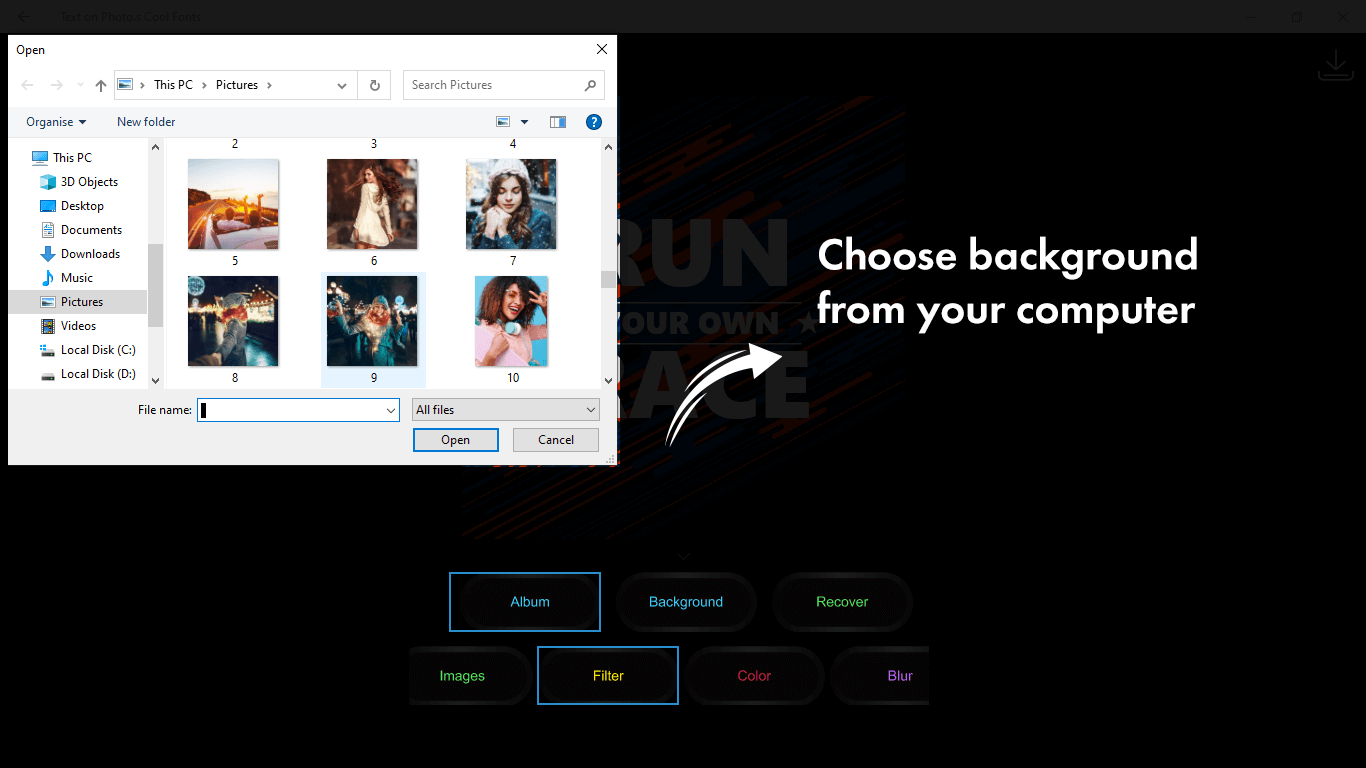
- Click on the “Album” option to choose a background from any album on your device.
- Alternatively, click on the “Image” option to select any image from your device.
These straightforward steps allow you to customize your background easily, ensuring your creations stand out.
Step 5:- Customizing Your Template
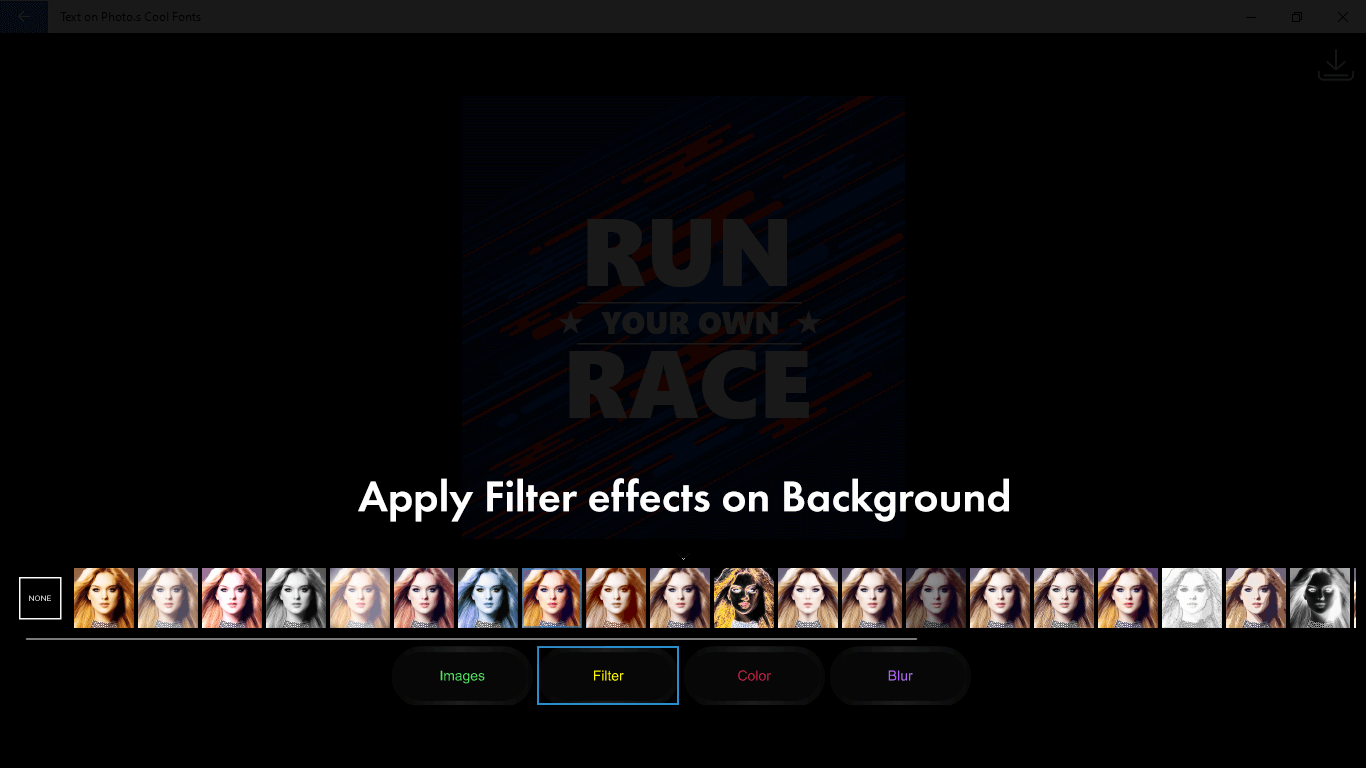
- To apply a filter to your template, click on the “Filter” option below and choose your preferred filter.
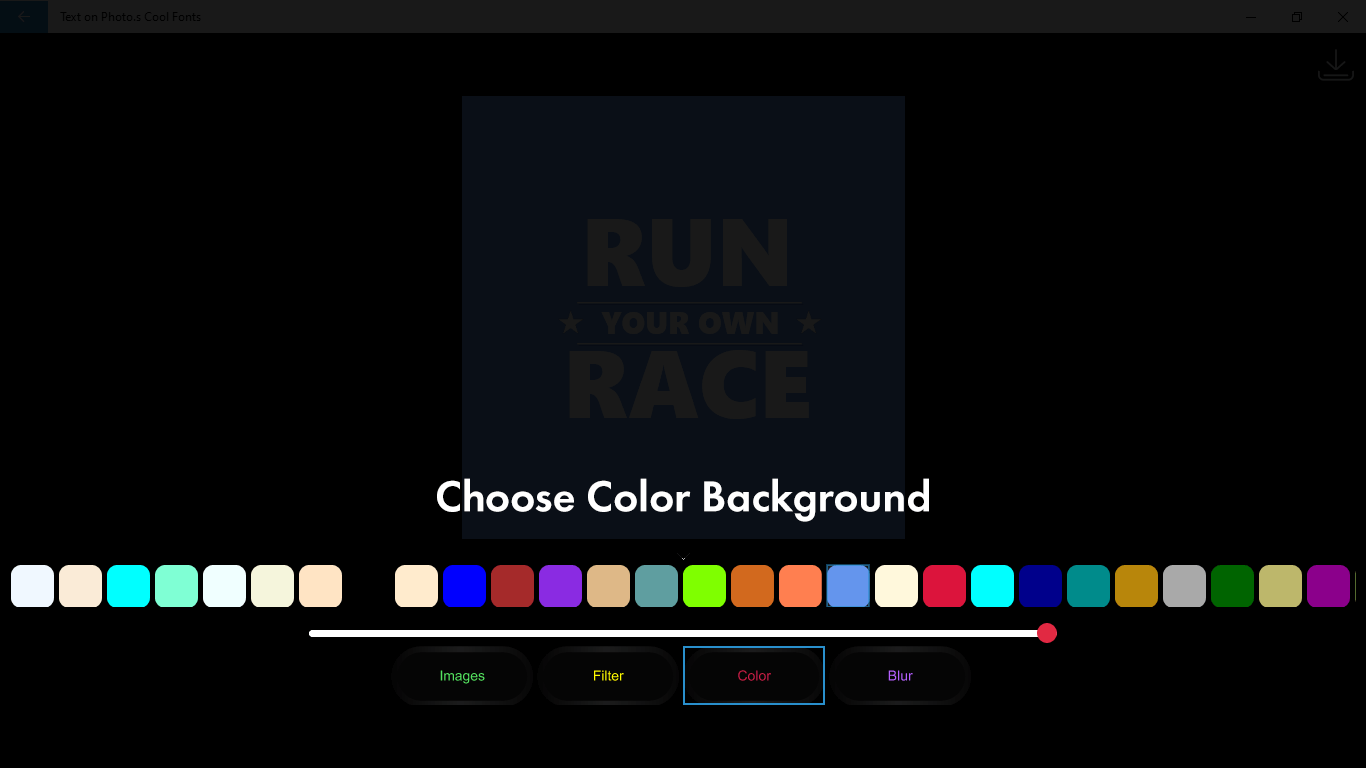
- If you want to select a specific color, click on the “Color” option below and make your choice.
- To add a blur effect to your background, click on the “Blur” option. Adjust the blur intensity by dragging the cursor along the bar until you reach your desired level.
These simple steps empower you to personalize your template according to your preferences.
Step 6:- Fine-Tune Your Design
- Click on the “Color” option below to choose a specific color for your template.
- For a personalized touch, utilize the “Blur” option. Adjust the intensity by dragging the cursor along the bar until you achieve your desired effect.
These adjustments help you fine-tune your design, ensuring it matches your vision perfectly.